Front Suspension Overhaul
(Fitting Poly Bushes)
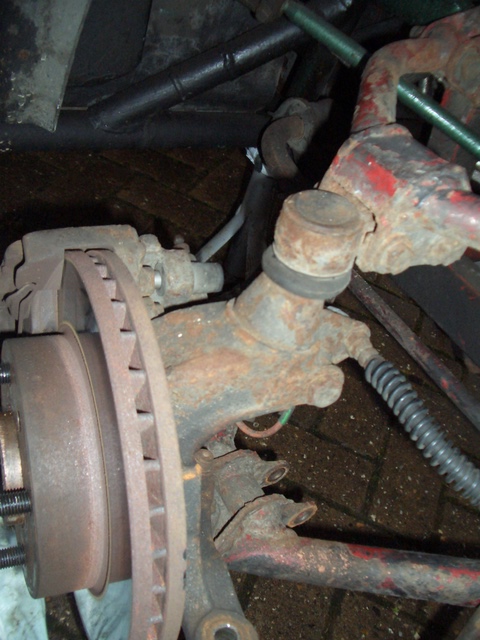
| The Before Shot | ||
| |
A longstanding job that I haven't got around too finally came to be done. This was to strip down the front suspension, Poly bush the lot and re-preserves the chassis around the area and all of the wishbones. I was also going to replace all the ball joints, but they were all in top condition so decided against it. I also decided not to re-preserve the wheel carrier as I intend to do this when I change the brakes to 260mm discs (when I get a round to it and the cash) | |
| View | ||
| Before Shot 2 | ||
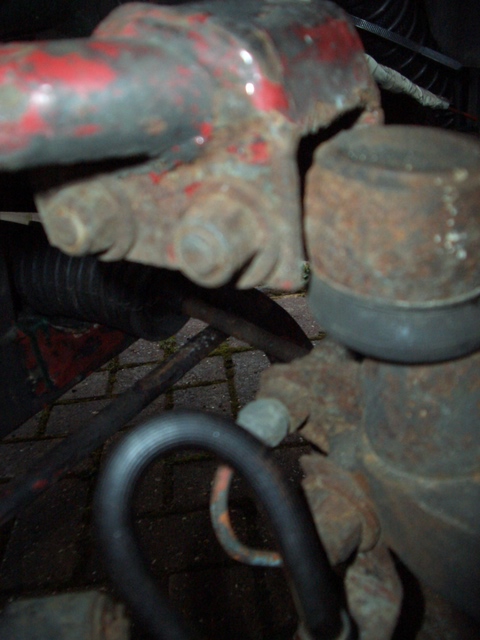 |
Angle 2 - To Strip down the suspension you need to undo the following:
|
|
| View | ||
| Before Shot 3 | ||
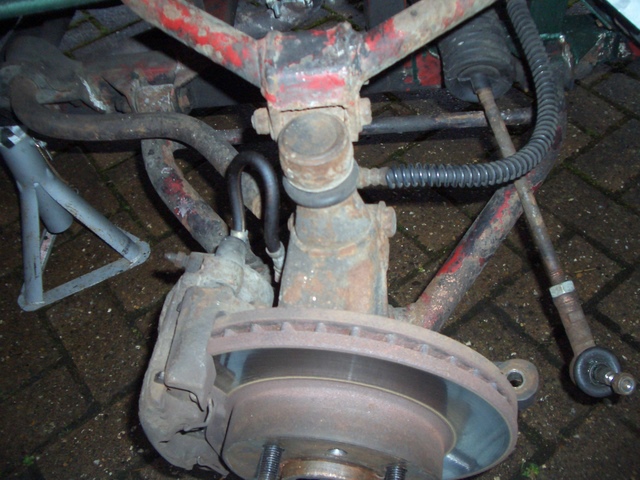 |
Angle 3 - One of the bolts holding the upper wishbone to the chassis had to be cut as it had corroded to the metal shell of the old bush and the bolt couldn't be withdrawn. It this happens to you take care not to damage the chassis mounting point - I did very slightly and had to weld repair. | |
| View | ||
| Removing Old Bushes 1 | ||
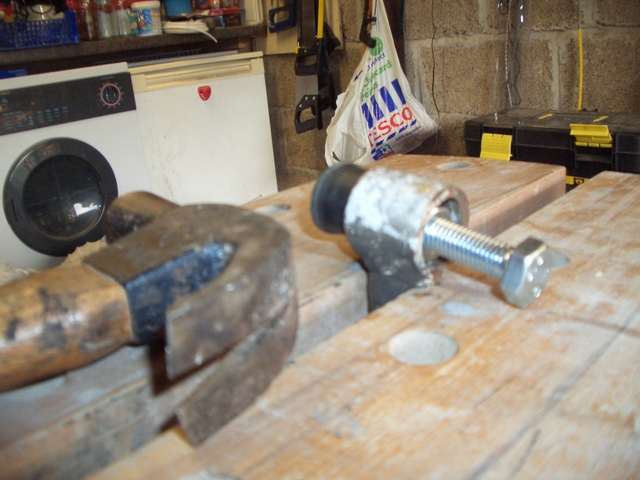 |
To remove the old bushes I used a 100mm long 12mm bolt with a nut positioned as shown | |
| View | ||
| Removing Old Bushes 2 | ||
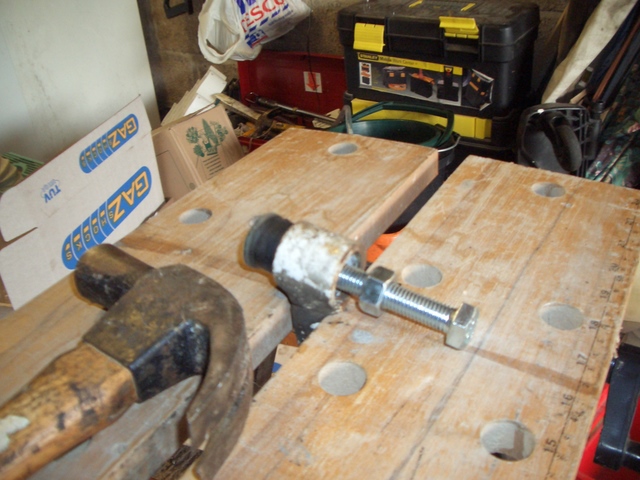 |
I then used a standard hammer (a lump hammer was needed for one bush) and whacked the bushes out while clamping the wishbones in my workmate (I have now bought a vice!!!!!) - all in all it took only 10 minutes to do this so ignore what the bible says about this being difficult. | |
| View | ||
| The Wishbone Clothes Line | ||
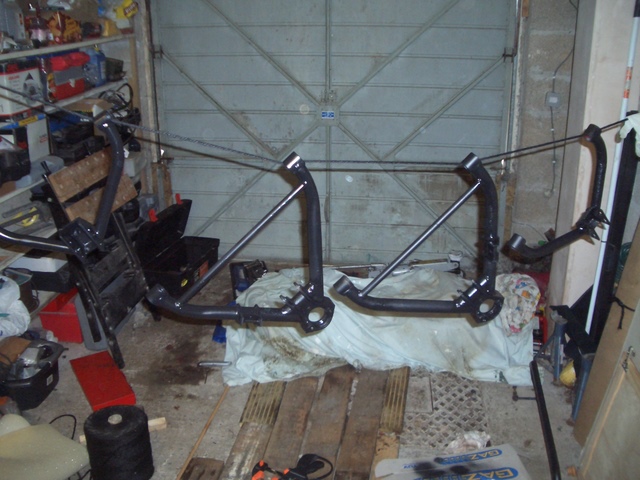 |
I then wire brushed off all the corrosion, jenolited the lot and sprayed them with Waxoyl Stone chip Black which seems to hold up well in this area of the car. I also cleaned up, rust treated and hamerited the chassis in the same green I had previously used to match in with the body colour. | |
| View | ||
| The Old Bushes | ||
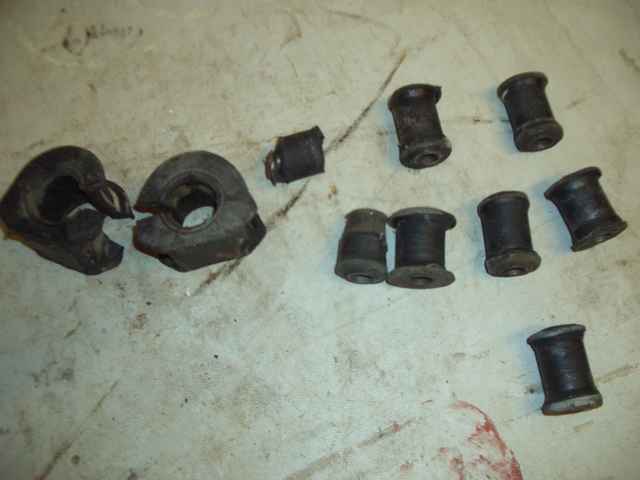 |
As you can see the old bushes were well and truly kaput. The improvement post re bushing is incredible. I also changed the anti-roll bar bushes to Polyurethane as well, but photos are not provided as this is simple. I may change the end links to rose joints in due course but that is £50 better spent elsewhere at present. | |
| View | ||
| After Shot 1 | ||
 |
To fit the Poly bushes you NEED PTFE grease - try it without and you'll struggle and struggle without success. One you have it fit the two halves in to the wishbone then half insert the metal insert. Then use the bolt previously used for knocking out the old bushes and two of the large penny washers off the chassis mounting points to "wind in" the insert. | |
| View | ||
| After Shot 2 | ||
 |
Putting it back is the reverse of stripping it down - and it looks far better. Do not fully tighten any bolts until the weight of the car is on the wheels then torque all bolts to the correct setting. Once re-assembled use a spirit level, trigonometry and a tape measure to reset the camber angle on the car. For my 17" wheels 1 degree negative camber = rim at top of wheel 8.2mm further in that rim at bottom of wheel. Drive the car for a bit to allow everything to settle and then re-check camber and re-torque all bolts. |
|
| View | ||
| Suspension Set Up | ||
 |
Now to do the job properly you really need to get a professional suspension check completed. I had this done but so I could be comfortable driving the car for the check I set the car roughly at home and as it turned out I got it within spec although it was improved by the garage after my efforts. Here is how to do it. Get the car on a level surface with the wheels straight. Set the ride height by adjusting the spring seats and check the rear height is correct as well before setting up the camber angle. To set camber you will need to measure the distance between the two rims of your wheels and use trigonometry to work out how many mm the upper rim needs to be in from the lower rim for each 0.1° of Camber angle. I have 17inch wheels and this worked out to be 1mm = 0.12°and as I wanted to a set up with 1° negative camber this meant the top of the rim had to be 8 mm further in than the bottom. Next get a perfectly straight piece of wood and mark two lines on it where the rim crossed it when places against the wheel. Then drill two pilot holes through the wood and insert two screws through these holes. Make sure that the screws line up with the rims. Set the position of the lower screw so when placed against the rim the wood stands clear of the wheel and then set the upper screw so that is protrudes by 8mm more than the lower one. Then loosening the upper ball joint securing bolts and using a spirit level taped to the wood move the wheel until you obtain a level position on the spirit level as shown in the diagram below. Repeat the process for the other wheel and then roll the car back and forth a few times and then recheck the angles. If necessary adjust again. Now to set the toe in. For this thread a piece of string through the chassis and engine bay at mid wheel height, firstly at the front and then at the back of the wheel. Measure the distance between the two points very carefully and calculate the difference between front and rear. Then use trigonometry to set the wheels to the desired toe in. I set mine dead ahead as I was intending on having them set professionally but with care you can get accurate results this way. Finally roll car back and forwards, recheck the settings and tighten all bolts to the correct torque. Now comes the good bit go for a drive and the not so good bit try and find some speed humps. Run the car over these a few times to allow the suspension to settle and then take it home and re-check all settings. |
|
| View | ||